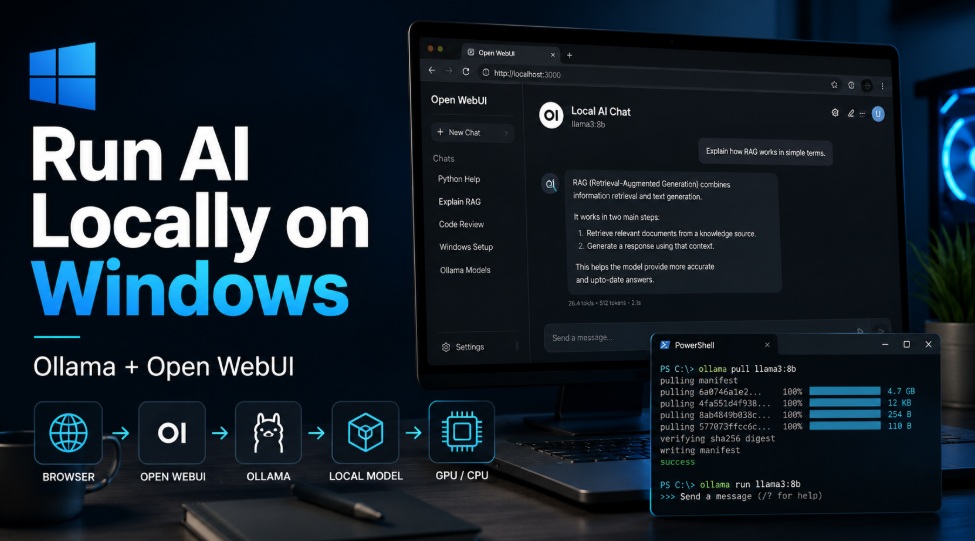
You don’t need a cloud subscription every time you want to use an AI model.
A reasonably modern Windows PC can run surprisingly capable language models locally, with no per-message fees and without sending every conversation to a remote server.
One of the easiest setups is Ollama + Open WebUI.
Ollama handles the models and runs them on your hardware. Open WebUI gives you a familiar browser-based chat interface on top of it.
Once everything is installed, opening your local AI can be as simple as visiting:
http://localhost:3000
Here’s how to set it up.
What you need
Ollama currently supports Windows 10 22H2 and newer versions of Windows.
You don’t strictly need a dedicated graphics card, but it makes a huge difference.
A rough idea:
| Hardware | What to expect |
|---|---|
| CPU only | Works, but generation can be slow |
| 8 GB RAM | Small models |
| 16 GB RAM | Good starting point |
| 32 GB RAM | Much more flexibility |
| 64 GB RAM | Large models and heavier offloading |
| NVIDIA/AMD GPU | Much faster local inference |
| 8–16 GB VRAM | Very useful for common local models |
| 24 GB+ VRAM | Opens the door to considerably larger models |
Don’t confuse RAM with VRAM.
RAM is your normal system memory. VRAM is the memory on your graphics card.
A model doesn’t always have to fit completely inside VRAM. Ollama can split workloads between available hardware, although performance usually drops when more of the model has to leave the GPU.
Step 1: Install Ollama
Install the Windows version of Ollama.
After installation, Ollama runs in the background and adds the ollama command to PowerShell and Command Prompt.
Open PowerShell and check that it is working:
ollama
You can also check the installed version:
ollama -v
Ollama normally exposes its local API on:
http://localhost:11434
You usually don’t need to do anything with that address manually, but it becomes important later when connecting other applications.
Step 2: Download your first AI model
Now you need an actual model.
For a first installation, don’t immediately download a 30B, 70B or 100B+ model just because your computer technically has enough combined memory to load it.
Start with something smaller and verify that the system works.
For example:
ollama run qwen3.5:9b
The first run downloads the model. After that, Ollama starts an interactive conversation directly in your terminal.
Type something simple:
Explain what DNS does in two sentences.
If you get a response, your local AI is working.
The Qwen3.5 9B Ollama build is around 6.6 GB in its default Q4_K_M form, which makes it a reasonable starting point without dropping all the way down to tiny models.
To exit the conversation, use:
/bye
Useful Ollama commands
See your downloaded models:
ollama list
Run a model:
ollama run qwen3.5:9b
Remove a model:
ollama rm qwen3.5:9b
Check currently loaded models:
ollama ps
That last command is especially useful later when you’re trying to understand whether a model is using the GPU, CPU, or a combination of both.
Step 3: Install Docker Desktop
Ollama already works at this point.
You could stop here and use it from the terminal, but most people will want something closer to ChatGPT’s interface.
That’s where Open WebUI comes in.
The cleanest way to run Open WebUI on Windows is with Docker.
Install Docker Desktop and make sure Docker is running before continuing.
Then open PowerShell.
Step 4: Install Open WebUI
Run:
docker run -d -p 3000:8080 --add-host=host.docker.internal:host-gateway -v open-webui:/app/backend/data --name open-webui --restart always ghcr.io/open-webui/open-webui:main
Docker will download Open WebUI and create a container named:
open-webui
When it finishes, open:
http://localhost:3000
You should now see the Open WebUI interface.
Create your local account and sign in.
Your account and chats are stored in the persistent Docker volume created by the command, so restarting the container won’t normally wipe everything.
Step 5: Connect Open WebUI to Ollama
In many installations Open WebUI detects Ollama automatically.
If your models already appear in the model selector, you’re done.
Select your model and start chatting.
If nothing appears, open the Open WebUI administration settings and find the Ollama connection.
When Ollama is installed directly on Windows but Open WebUI is running inside Docker, use:
http://host.docker.internal:11434
This is important.
Inside a Docker container, localhost refers to the container itself — not necessarily your Windows host.
That small distinction causes a surprisingly large number of Open WebUI connection problems.
Why not just use Ollama’s terminal?
You absolutely can.
For quick testing, development and scripts, the terminal is often enough.
Open WebUI becomes useful when you want things such as:
- saved conversations
- multiple installed models
- a proper browser interface
- model management
- file and knowledge features
- tools and integrations
- easier switching between local and remote AI providers
Ollama is essentially doing the heavy lifting underneath while Open WebUI provides the interface.
Where are Ollama models stored?
Local models can become huge surprisingly quickly.
On Windows, Ollama normally keeps its models under your user profile.
If your system drive is small, you can move model storage to another drive using the OLLAMA_MODELS environment variable.
For example, you could create:
D:\OllamaModels
Then create a Windows user environment variable:
OLLAMA_MODELS
with the value:
D:\OllamaModels
Quit Ollama completely and start it again after changing the variable.
This is worth doing before downloading dozens of models. A local AI collection can easily consume hundreds of gigabytes.
Is the GPU actually being used?
Don’t judge this only from Windows Task Manager.
Run a model and then open another PowerShell window:
ollama ps
You can also check NVIDIA GPU activity with:
nvidia-smi
If you have an NVIDIA card, you should normally see Ollama using GPU memory while a supported model is loaded.
A model larger than your available VRAM may still run because part of it can be placed elsewhere. That doesn’t magically increase your GPU memory, though. Once significant work moves away from the GPU, generation can become noticeably slower.
We’ll cover GPU offloading and models larger than VRAM separately, because that’s a subject on its own.
Open WebUI says it cannot connect to Ollama
First make sure Ollama itself works:
ollama list
Then check that the API is running on port 11434.
If Ollama works on Windows but Open WebUI inside Docker can’t see it, check the Open WebUI Ollama connection address.
Try:
http://host.docker.internal:11434
instead of:
http://localhost:11434
You can also restart both applications.
Restart Ollama from Windows, then restart Open WebUI:
docker restart open-webui
If that doesn’t fix it, don’t start reinstalling everything yet. Connection errors, GPU detection problems and Docker networking issues can usually be diagnosed individually.
Which model should you install?
There isn’t one model that’s best for everybody.
Your hardware and what you actually want to do matter more than the model with the biggest parameter count.
For example:
General use
A modern 4B–9B model is a sensible place to start.
Coding
Look for models specifically strong in code generation and tool use.
Image understanding
Make sure you’re downloading a vision-capable model rather than a text-only model.
Large reasoning models
These may need considerably more VRAM or system RAM and can become slow when heavily offloaded to the CPU.
The Ollama library now contains everything from very small models to models that would be completely impractical on an average desktop.
Bigger isn’t automatically better for your machine.
A fast 9B model that stays mostly on your GPU can feel much better to use than a huge model producing a few words every second.
What you have now
At this point your setup looks like this:
Your Browser
     ↓
 Open WebUI
     ↓
   Ollama
     ↓
Local AI Model
     ↓
CPU / RAM / GPU / VRAM
The model runs on your own computer, and Open WebUI gives you a convenient interface to use it.
From here things get much more interesting.
You can add larger models, image-capable models, coding models, remote access, APIs, tools and even connect several AI services to the same Open WebUI installation.
But first make sure the basic setup is stable.
Once local AI is running correctly, the next question usually isn’t “Can my PC run AI?”
It’s:
“How large a model can my hardware actually handle?”